
Building a skeleton for your character can at times be tricky; you may start drawing your joints only to find that they’re going to the origin. This results in having to keep moving them as they’re not where you had initially placed them. Here’s a great one-click fix for this that will speed up your rigging work.
Here’s a little known feature in Maya that really helps speed up the skeleton creation process:
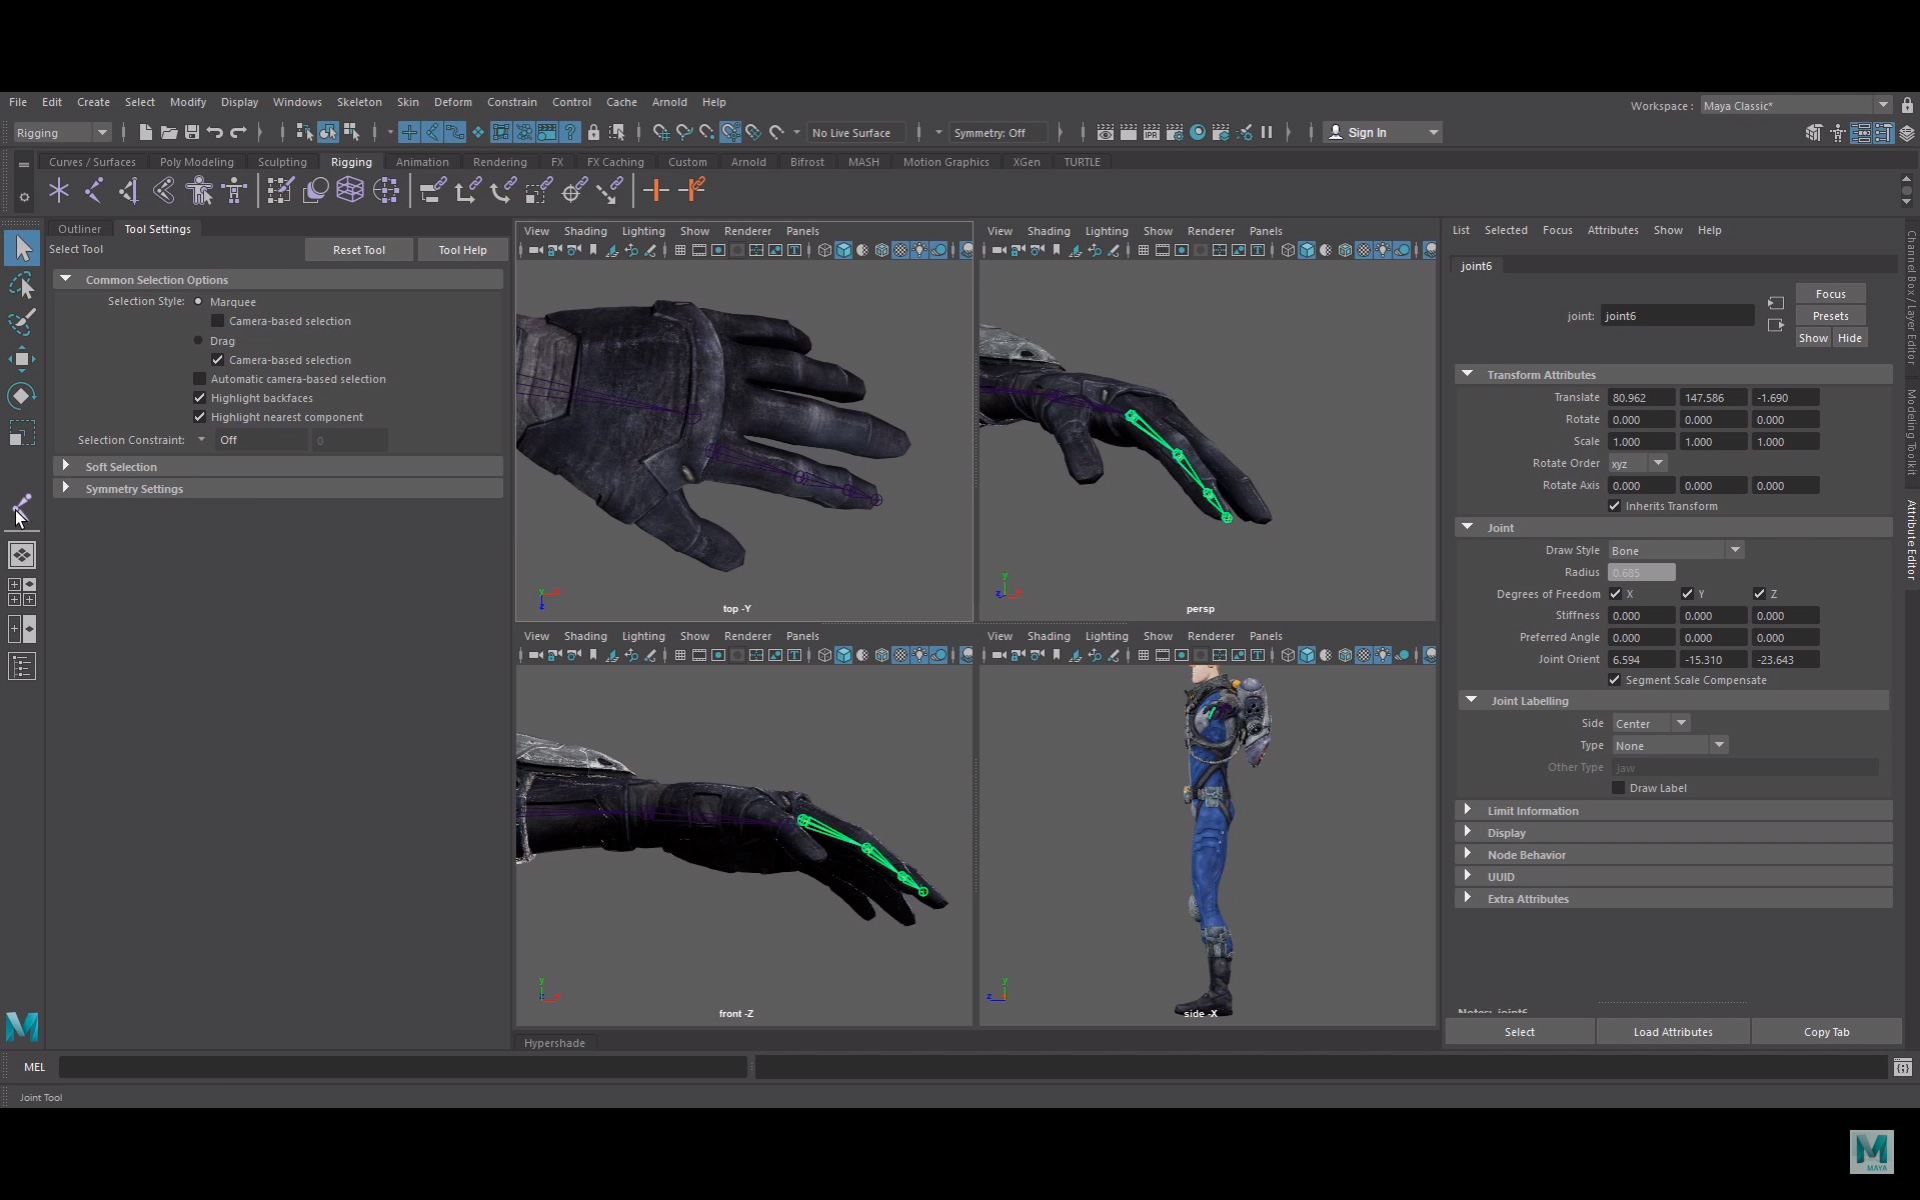
- Enable Xray joints so that we’re able to see what we’re doing. You can also disable selecting meshes from the top component bar so that you don’t click on the wrong thing.
- Open up your joint tool options – (it’s always good to begin by taking a look at the tool options).
- Turn on Projected Centering – this is going to center the joints within the mesh we click on. You’ll notice that now, as you click to place joints, the joints will place themselves in the right spot. This works particularly well for fingers which tend to be finicky.
Note: It’s important to consider joint orientation when you are rigging, as this (and other) joint placement tools don’t handle this automatically for you. Our friends at Rigging Dojo and Cult Of Rig have a great page that goes into details – check it outhere.
Happy Rigging!