 Today, Google did something which would gladden the hearts of thousands of GNU/Linux users – well at least those who are not as rigid in outlook about GPL any way. That is they finally released a version of Picasa for Linux. Picasa is a first rate graphics package rivaling even Adobe Photoshop Elements in ease of use, functionality and above all cost.
Any one who has some experience in the graphics industry would be aware that Adobe sells a stripped down version of Photoshop called Photoshop elements for Windows targeted at home users. Picasa is a direct competitor of Adobes product and a worthy one too.
Google has provided the installer in three formats which is a deb file for Debian and Ubuntu users, an RPM file for Red Hat users and a BIN file for rest of the Linux distributions. I downloaded the deb file from the Google’s Picasa site since I run Ubuntu as my main GNU/Linux distribution. It was a 21 MB download. And the installation went quite smoothly.
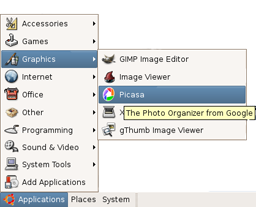
Once the installation was over, I was pleasantly surprised to see the picasa link in the Gnome Menu. Clicking on it the first time brings up the licence agreement to which one has to agree. Reading the agreement, one realises that Google allows one to freely use this software only for non-commercial use. That is, one has to get Google’s explicit permission to use Picasa in a commercial setup.
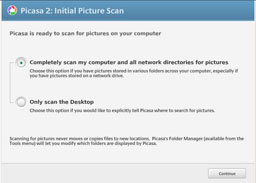
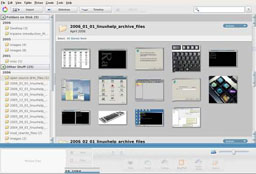
Once the licence agreement is out of the way, the software offers to scan the machine for images. The scanning is relatively fast with Google’s superior search algorithm and shortly I found all the images on my machine indexed and accessible from the Picasa user interface which Google chooses to call the image library.
One look at the interface will convince anyone why this software has become so popular. The interface is ideally designed to be easily used by even a person new to computers. Picasa is rather heavy in features too. For example, I can select a couple of images and create a collage of the selected images by the mere press of a button. Moving a collection of images from one location to another is also a piece of cake and is easily made possible from the “actions” drop-down button.
Google has extended the Gmail’s tagging feature using a star or a label to Picasa. This in my opinion is a time saver. In Picasa, one can tag important images with a star which helps one to keep track of the images. And a label could be applied to a collection of similar images.
But I felt the real power of Picasa when I selected an image in the image library and pressed the enter key on my keyboard. I found myself face to face with the image editor interface where I could do basic fixes of the selected image like crop the image to the size of standard photo prints, rotate and zoom the image, change the contrast, do further tuning like change brightness and apply different tints to the image. But the best thing I like about this software is that one can remove red-eye from a photograph with the click of a button which I believe would be the most used feature by any home user – considering that many photos shot by amateurs suffer from this most common defect.
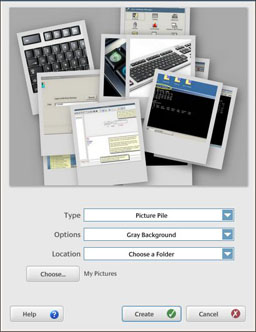
Create a collage of images with ease
This software is quite intelligent and can find out if a photograph has red color or not and if it doesn’t find any red in the selected photo, the red-eye correction button is automatically disabled.
Other tasks one can accomplish are publish the picture to ones Blogger.com blog by pressing the “Blog This” button, order prints of the photos online, email the picture to someone or take a local printout of it.
One also has the option of viewing all the images in the screensaver mode or timeline mode either of which are quite useful. But if that is not enough Picasa allows one to select a group of images and create a movie in AVI format by navigating to ‘Create -> Movie’ . One feature I really liked was the “export as a webpage” feature. When I selected a group of pictures and pressing Ctrl+W, Picasa seamlessly created thumbnails of the pictures and displayed it in a webpage in the default web browser. And by clicking on the thumbnail, I was able to view the picture in its original size.
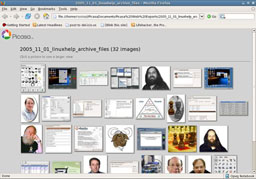
Images exported to a webpage from picasa
Of course, a curious user will find that the Linux version of Picasa is actually the same windows version being run on top of GPLed Wine software. But Google has done a remarkable job in cleverly shielding this from the average user. And in all respects a user will feel that he is using a Linux native application.
|
Salient Features of Picasa
|

